How to Schedule Instagram Reels with Buffer in 2026: Complete Guide
Learn how to schedule Instagram Reels with Buffer, including setup, limitations (reminder vs auto-post), and alternatives for 2026.

Author
If Reels are part of your growth plan in 2026, posting on a schedule will do more than posting when you remember.
Meta has shared that Reels plays exceed 200 billion per day across Facebook and Instagram (source). With that much competition, posting consistently gives each Reel more chances to be recommended to new people.
Reels publishing also has a few catches:
- Some accounts can auto-publish, while others must use notifications.
- “Trending audio” often requires finishing inside Instagram (because of platform/API limitations).
- Seemingly small video-export details (like FPS) can block scheduling.
This guide shows how to schedule Instagram Reels with Buffer in 2026, with a troubleshooting section and a batch workflow for solo creators and agencies managing several accounts.
This guide covers: - How Buffer schedules Reels (Auto-publishing vs Notify Me / notification publishing) - Step-by-step: scheduling Reels in Buffer (desktop + mobile workflow) - Requirements by Instagram account type (Personal vs Business/Creator) - Video specs and limits that affect Buffer uploads (file size, length, format, bitrate) - Common publishing failures and fixes - A 30-day Reels scheduling system (templates + checklists) - Tool options (including a cross-posting alternative workflow with PostQuickAI)
What it means to “schedule Instagram Reels with Buffer” (in plain English)
Scheduling a Reel with Buffer means you prepare the content in advance (video + caption + thumbnail/cover + hashtags, etc.) and choose a time for it to publish.
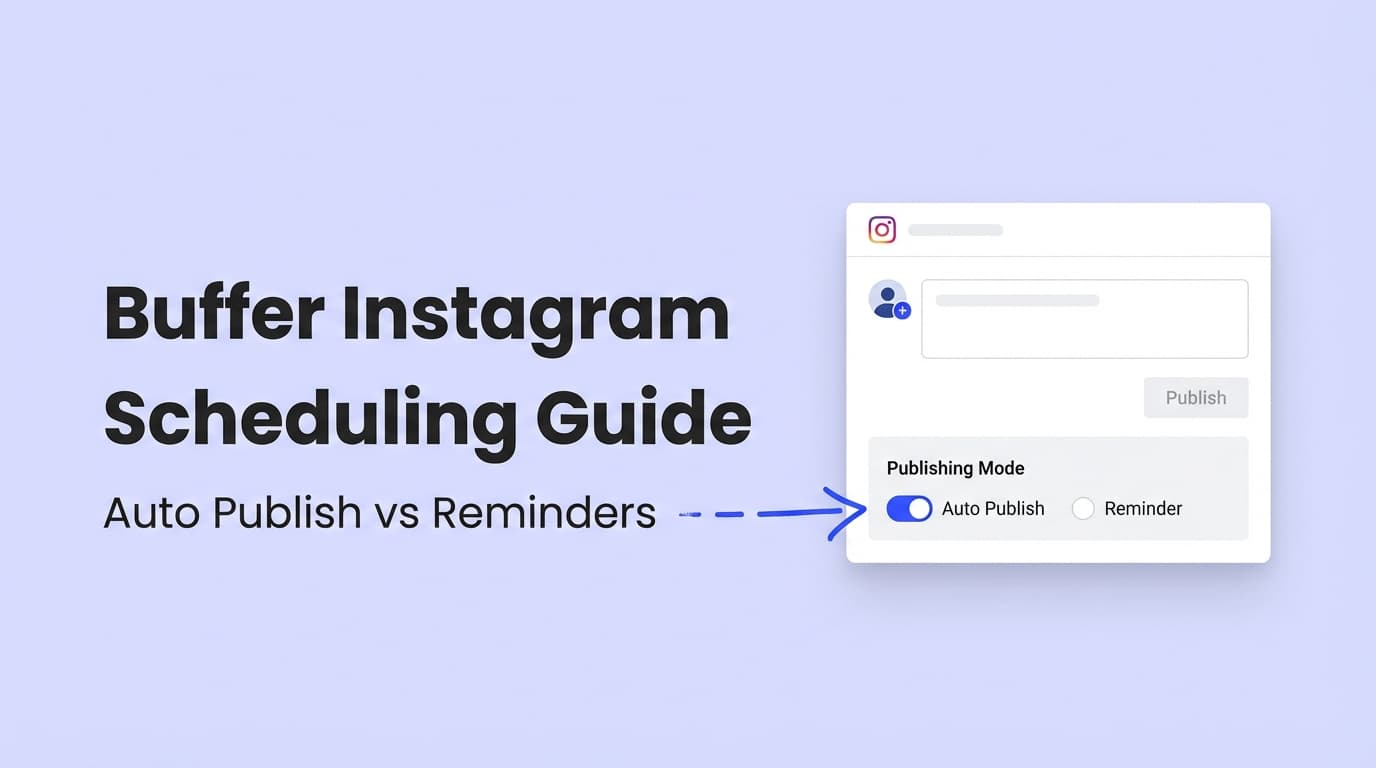
Buffer offers two main ways to publish Instagram content:
-
Automatic publishing (auto-publish) - Buffer publishes the Reel for you at the scheduled time.
-
Notification publishing (a.k.a. “Notify Me”) - Buffer sends a phone notification at the scheduled time. - You tap the notification and finish posting inside Instagram.
Buffer explains this “Automatic vs notification publishing” model directly in its Instagram scheduling documentation (source).
Why scheduling Reels matters in 2026 (with real data)
Scheduling won’t trick the algorithm. It lets you post at the pace people now expect. A few numbers worth knowing:
- Reels plays exceed 200 billion per day across Facebook and Instagram (source).
- There were 5.04 billion social media user identities at the start of 2024 (source).
- Social media users spend 2 hours and 23 minutes per day on social media on average (source).
- Instagram’s native scheduler allows scheduling up to 25 posts per day and up to 75 days in advance (source).
- HubSpot reports that short-form video has the highest ROI among video formats (source).
People watch a huge number of Reels, and scheduling lets you keep up without spending all day in the app.
Quick answer: Can Buffer schedule Instagram Reels in 2026?
Yes. Buffer’s help docs explicitly cover scheduling Instagram posts and Reels and explain both auto-publishing and notification publishing (source).
The bigger question is which publishing method you can use based on your account setup and your content needs (especially audio).
Before you schedule: requirements that determine whether you can auto-publish vs Notify Me
1) Know your Instagram account type (Personal vs Business/Creator)
This matters more than most people expect.
- Instagram Personal accounts: Buffer notes these can only publish via notification publishing due to API limitations (source).
- Instagram Professional accounts (Business or Creator): can use additional functionality, including auto-publishing (conditions apply) (source).
Agency tip: When onboarding clients, confirm account type first. With a Personal account, nothing auto-posts and someone has to be on a phone at every publish time.
2) Confirm the connection method (Instagram login vs linked Facebook Page)
Buffer supports multiple ways of connecting Instagram (including Professional via Instagram login or via a linked Facebook Page), and it includes a troubleshooting section for common connection errors (source).
If you’re troubleshooting scheduling failures, many issues start here: - The Instagram account isn’t properly linked to the right Facebook Page. - The Facebook profile used to authenticate doesn’t have sufficient access.
3) Decide up front: do you need trending audio?
If your Reel strategy depends on trending sounds, you often need a workflow that lets you add audio inside Instagram.
Buffer positions notification publishing as a way to “finish the post yourself” in Instagram, which can be helpful for in-app features (source).
And more broadly, some third-party tools document that search/sync trending audio is limited by network/API constraints (source).
Practical rule: - Evergreen Reels → auto-publish - Trend/audio-driven Reels → Notify Me (finish in Instagram)
How to schedule Instagram Reels with Buffer in 2026 (step-by-step)
Buffer’s interface changes now and then, but these steps stay the same.
Step 1: Connect your Instagram account to Buffer
- Log into Buffer (web or mobile).
- Add your Instagram channel.
- If you want auto-publishing, ensure you’re connecting a Business or Creator account.
- If you’re connecting a Professional account via Facebook Page, confirm you’re using a Facebook profile with the right Page access.
Source: Buffer connection guide:
https://support.buffer.com/article/568-connecting-your-instagram-business-or-creator-account-to-buffer
Pro tip (agencies): Create a client onboarding checklist: - IG account type verified (Personal vs Business/Creator) - IG linked to correct Facebook Page (if used) - Correct Meta/Facebook admin access confirmed - Buffer connection tested with a scheduled draft
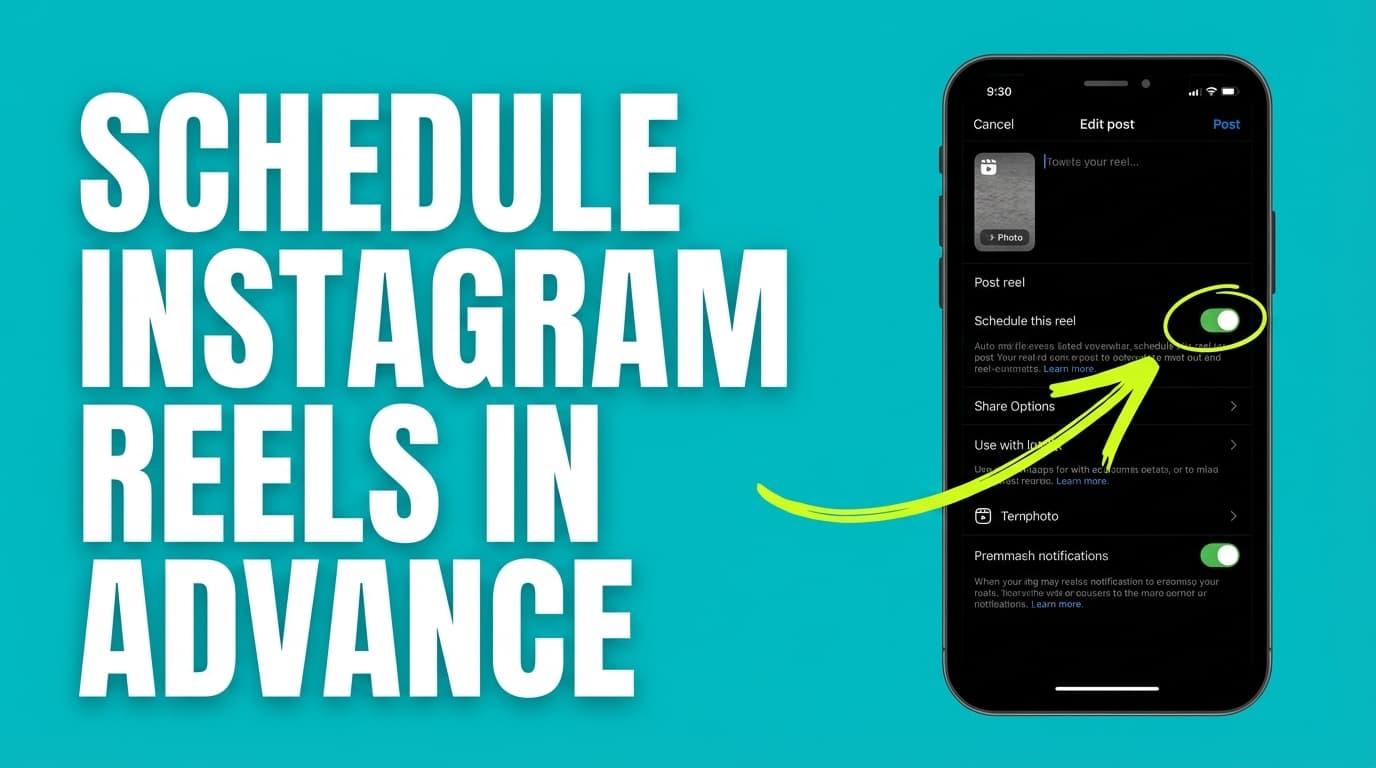
Step 2: Start a new Instagram post and choose “Reel”
- Select your Instagram channel in Buffer.
- Click Create / New post (wording varies).
- Choose Reel as the post type.
- Upload your video.
What to prepare now: - Video file - Caption draft - Hashtags set - Cover/thumbnail plan
Buffer includes Reels under its Instagram scheduling options (source).
Step 3: Add your caption, hashtags, and (if needed) thumbnail/cover frame
Buffer provides guidance on video thumbnails and how to choose them (source).
Caption structure that works well for scheduled Reels: - Line 1: Hook (pain point / promise / curiosity) - Line 2–3: Context (what + why) - Line 4: CTA (“save this”, “comment ‘template’”, “DM me ‘reels’”)
Hashtag approach (keep it simple): - 3–8 specific hashtags tied to the topic, audience, and niche. - Rotate sets to avoid repeating the exact same block every time.
Step 4: Choose your publishing method (Auto-publish vs Notify Me)
Buffer’s key scheduling decision is “Automatic vs notification publishing” (source).
Option A: Automatic publishing (Auto-publish)
Use auto-publishing when: - You’re managing multiple accounts and can’t rely on reminders. - You post outside work hours/time zones. - You want maximum reliability and minimum manual effort.
Watch-outs: - Some content may not qualify for auto-publishing depending on constraints (see troubleshooting section).
Option B: Notification publishing (Notify Me)
Use notification publishing when: - You need to finish in Instagram (often for in-app features). - You’re posting from a Personal IG account (Buffer states Personal accounts publish via notifications due to API limitationshttps://support.buffer.com/article/554-using-instagram-with-buffer). - You want one last manual review right before posting.
Buffer has a dedicated guide on notification publishing, including enabling push notifications and finishing a post via notifications (source).
Step 5: Pick your date/time and schedule
- Choose date/time.
- Confirm timezone (critical for agencies with clients in multiple regions).
- Schedule the Reel.
Reminder: Instagram’s native scheduling limits are 25 posts/day and up to 75 days in advance for scheduled content (source).
Those limits are worth planning around even if you schedule through Buffer.
Step 6: Run a 60-second “pre-flight” checklist
Before you leave the scheduler:
- Correct account selected (easy mistake when managing many)
- Publishing method is correct (Auto vs Notify Me)
- Video meets specs (see the next section)
- Cover frame looks intentional
- Caption hook is strong
- If Notify Me: the publisher has the Buffer app installed and notifications enabled
Buffer Instagram Reels video specs (where many failures start)
If you want fewer failed uploads and fewer stuck posts, check video specs against a list instead of guessing.
Buffer publishes Reels via the Instagram API and documents specs/limits in its help center.
From Buffer’s “Sharing videos through Buffer,” Instagram Reels specifications include: (source)
- File size: below 300MB
- Video length: between 3 seconds and 15 minutes
- Format: MP4 and MOV
- Video bitrate: below 25Mbps
Buffer also offers a “Troubleshooting video uploads” doc that recommends standard formats and staying under network-specific size limits (source).
Recommended export preset (practical best practice)
To minimize scheduling issues: - 1080×1920 (9:16) - 30 FPS (or 60 FPS, but keep it stable) - MP4 (H.264), AAC audio - Keep file size under Buffer/Instagram limits
Instagram itself also specifies baseline requirements like minimum 30 FPS and minimum 720px resolution for Reels (source). If you’re below these minimums, you’re more likely to run into failures across tools.
How to schedule Reels with Buffer using Notify Me (notification workflow)
Notification publishing gives you a bit of both: you still plan ahead, and you can still finish the post in Instagram.
1) Enable Buffer notifications on your phone
Buffer covers enabling push notifications and how to identify notification posts in the queue/calendar (source).
2) Schedule the Reel as Notify Me
Prepare your post and schedule it as usual, choosing notification publishing.
3) At publish time, tap the Buffer notification immediately
Buffer’s process is: receive notification → tap → finish the post in Instagram (source).
4) Finish publishing in Instagram
This is where you do the final steps, such as: - Final caption review - Adjust cover selection (if needed) - Add any Instagram-native elements you want to apply manually
Agency tip: Create a “publishing shift” rotation if you rely heavily on notifications. Notification workflows fail when no one is assigned.
Troubleshooting: why Buffer Reels don’t auto-publish (or fail to publish)
This section saves the most time, especially for agencies handling many accounts.
Issue #1: “My Reel didn’t auto-publish. It became a notification”
Buffer explains that not all Instagram posts can publish automatically (source).
One specific Reels rule Buffer mentions: - If a Reel video is shorter than 5 seconds or longer than 15 minutes, Buffer schedules it as a notification (source).
Fix: - Confirm your Reel duration is within the supported range. - If your account is Personal, expect notification publishing (source). - If you need auto-publish, confirm you’re using a Business/Creator account and that the connection is healthy.
Issue #2: “Buffer can’t connect to Instagram / permissions error”
This is usually one of: - Wrong login method - Instagram isn’t properly linked to Facebook Page (when connecting that way) - Facebook profile doesn’t have the right Page access - Authorization token expired
Fix: - Follow Buffer’s official connection and troubleshooting steps (source). - If you’re an agency, confirm which Meta user owns Page access.
Issue #3: “Scheduled posts fail or disappear (especially in Meta tools)”
Sometimes failures are platform-side. Buffer’s own status/incident logs occasionally note Meta-side issues affecting publishing (source).
Fix: - Check Buffer Status page. - Try re-connecting the Instagram channel if the failure looks token-related. - Re-upload the media if the failure looks file-related.
Issue #4: “Upload fails / video stuck uploading / publish error”
This is often a file spec issue. Use Buffer’s Instagram Reels specs as your baseline: (source)
- Under 300MB
- 3 seconds to 15 minutes
- MP4/MOV
- Bitrate under 25Mbps
And cross-check Instagram’s baseline requirements: - Min 30 FPS - Min 720px (source)
Fastest fix: re-export your video with a known-good preset (1080×1920, 30 FPS, MP4/H.264).
Issue #5: “Notify Me notifications aren’t arriving”
Checklist: - Buffer app installed - Push notifications enabled (OS-level) - Focus/DND modes aren’t silencing notifications - You’re signed into the right Buffer account on mobile
Buffer covers enabling notifications and how to finish posts using notifications (source).
Issue #6: “Why didn’t it cross-post from Instagram to Facebook automatically?”
Buffer notes an important limitation: Instagram posts published through Buffer will not automatically publish to Facebook, even if you connected accounts, due to API limitations (source).
Fix/workaround: - Schedule to Facebook separately (i.e., connect both channels and schedule posts for each). - Adjust your workflow so cross-posting is planned as a multi-channel action, not assumed.
Best practices for scheduling Instagram Reels with Buffer
Scheduling handles the logistics. How a Reel performs still depends on the creative and how you package it.
1) Use a two-lane content calendar (evergreen + trend)
This is the simplest way to automate most posts and still react to trends:
- Lane A (Auto-publish): evergreen Reels (education, FAQs, product demos, tips)
- Lane B (Notify Me): trend-based Reels where you’ll finish in Instagram (audio, last-minute edits)
2) Don’t batch schedule without a QA step
When you manage multiple accounts, mistakes scale fast.
Add a lightweight QA: - Correct account/channel? - Correct time zone? - Correct publishing method? - Cover frame looks intentional? - First line of caption is a hook?
3) Build “caption banks” so you don’t rewrite from scratch
Create reusable caption templates: - “3 mistakes I see people make with ” - “If I started over with , I’d do this” - “Steal my script for ___”
Then customize the specifics.
4) Keep your hashtag strategy testable
Instead of 30 hashtags every time, test small sets: - 3 niche hashtags - 2 audience hashtags - 1 “category” hashtag
Track which sets correlate with better reach and follows.
5) Don’t schedule and disappear
Even scheduled Reels benefit from manual actions: - Reply to comments in the first hour when possible - Re-share to Stories - Pin a helpful comment (if appropriate)
Common mistakes to avoid
Mistake 1: Assuming “scheduled” means “auto-post”
It doesn’t, especially for Personal accounts. Buffer states Personal accounts publish via notification publishing due to API limitations (source).
Better: Choose auto-publish intentionally and only when your setup supports it.
Mistake 2: Exporting videos without checking specs
Buffer’s Reels specs (file size, length, format, bitrate) are a reliable checklist (source).
Better: Save a dedicated export preset for Reels.
Mistake 3: Scheduling too far ahead with trend-based content
If your content is “of the moment,” scheduling 60 days out usually backfires.
Better: schedule evergreen 2–4 weeks ahead; keep trend content flexible.
Mistake 4: Trying to do everything from desktop (when your workflow needs Instagram-native steps)
If you need in-app features, a full auto-publish pipeline may not fit.
Better: Use Notify Me for those posts and assign a publisher.
A 30-day Reels scheduling system (works for creators and agencies)
This routine keeps your calendar full without burning you out.
Step A: Build a “Reels bank” (1–2 hours)
Create a spreadsheet with: - Hook idea - Topic/pillar - Intended CTA - Video filename - Caption draft - Hashtag set - Publishing method (Auto vs Notify)
Aim for 20–30 hooks before you start filming.
Step B: Weekly production cycle
Monday (30 min): pick 5 hooks
Tuesday (60–90 min): film all 5
Wednesday (60–120 min): edit + export + covers
Thursday (45–60 min): upload + schedule + QA
Friday (30 min): review performance + add 5 new hooks
Step C: Keep buffer space in your calendar
Don’t schedule 100% of your slots. Leave room for: - Trends - Collaborations - Product launches - Client requests
A simple ratio: - 70% evergreen scheduled - 30% flexible
Does scheduling Reels hurt reach? (myth vs evidence)
People worry about this a lot.
Hootsuite published an experiment-style post that concluded third-party scheduling tools don’t appear to negatively impact Instagram performance (source).
Even if you don’t treat that as definitive science, it matches what most people see: inconsistent posting, weak hooks, and low retention hurt performance far more than whether you pressed “publish now” or “schedule.”
Tools that can help you schedule Instagram Reels (Buffer + alternatives)
You’re here for Buffer, so that’s the core recommendation. But depending on your workflow, you may want a second option, especially if you post to several platforms.
Buffer
Best for: - Scheduling Reels with a choice of auto-publishing or notification publishing (source) - Clear docs for troubleshooting and requirements (source)
Instagram native scheduling / Meta tools
Best for: - Scheduling directly inside the Instagram ecosystem - Using native scheduling limits as a planning guardrail: 25 posts/day, 75 days ahead (source)
PostQuickAI (if you want an IG Reels scheduler + cross-posting workflow)
If your main problem is managing several channels (or client accounts) without spending all day in tabs, PostQuickAI is another option:
- Instagram scheduling supported: single-image feed posts, carousels, video feed posts, and Reels publishing.
- Instagram Stories: supported.
- Server-side scheduled publishing: browser does not need to stay open.
- Cross-posting: publish to multiple platforms from one workflow.
- AI helpers (optional): caption generation + hashtag generation exist.
You can explore the Instagram scheduling page here: /instagram-scheduler
For quick copy help, these tools are free (separate from the paid scheduler):
- Caption Generator: /tools/caption-generator
- Hashtag Generator: /tools/hashtag-generator
Pricing: PostQuickAI is a paid subscription with a 7-day free trial on your first plan (card required); plans start at $15/month. The free tools are separate from the scheduler.
Key takeaways
- Buffer supports scheduling Instagram Reels using auto-publishing or Notify Me (source).
- If your Reel is shorter than 5 seconds or longer than 15 minutes, Buffer will schedule it as a notification (source).
- Follow Buffer’s Reels specs (file size, format, bitrate, length) to avoid upload/publish failures (source).
- Personal Instagram accounts publish via notification publishing due to API limitations (source).
- Build a two-lane calendar (evergreen posts on auto-publish, trend posts on Notify Me) so the workflow holds up as you add accounts.
FAQ (pulled from real “People Also Ask”–style queries)
Can Buffer schedule Instagram Reels?
Yes. Buffer’s help docs explicitly cover scheduling Instagram posts and Reels and explain both auto and notification publishing (source).
How do I schedule Instagram Reels in advance with Buffer?
Connect your Instagram channel in Buffer, create a new post as a Reel, upload your video, add caption/hashtags/cover, choose auto-publish or Notify Me, then pick a date/time and schedule.
Why can’t Buffer auto-publish my Reel?
Common reasons include: - You’re using a Personal Instagram account (notification publishing only due to API limitations) (source). - Your video length is outside auto-publish constraints (Buffer notes Reels <5 seconds or >15 minutes become notifications) (source). - Your file doesn’t meet Buffer/Instagram specs (source).
What are Buffer’s Instagram Reels requirements (file size, length, format)?
Buffer documents Instagram Reels specs including:
- File size under 300MB
- Length 3 seconds to 15 minutes
- Format MP4/MOV
- Bitrate under 25Mbps
(source)
Does scheduling Reels hurt reach?
There’s no strong evidence that scheduling inherently hurts reach. Hootsuite published an experiment-style post suggesting third-party tools do not appear to negatively impact performance (source). In practice, creative quality and retention usually matter more than posting method.
Can I add trending music to a Reel that’s auto-published by a third-party tool?
Often, trending audio workflows require doing final steps inside Instagram (which is why “Notify Me” exists). Some platforms document limitations around searching/syncing sounds due to API constraints (source). If audio is central to your strategy, consider a notification-based workflow.