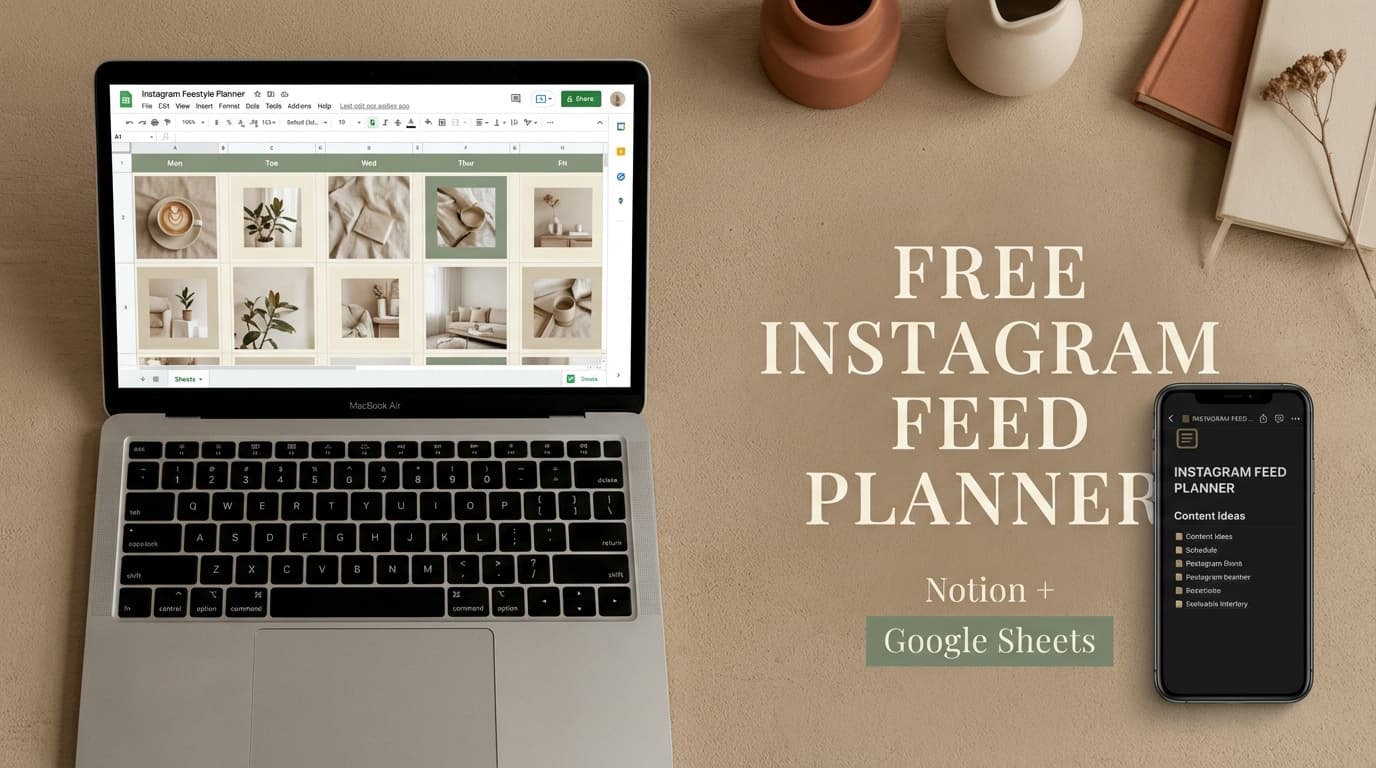
Facebook Post Planner Calendar (Free Template) for a Month of Posts
This free Facebook post planner calendar template keeps dates, post types, copy, creative links and goals in one place. Copy it into Google Sheets or Excel.
Try it now → or keep reading to see what’s inside and how to use it.
What is a Facebook Post Planner Calendar (Free Template)?
A Facebook post planner calendar maps out what you’ll post and when you’ll post it, ahead of time. Instead of keeping ideas in your head or in scattered notes, you track these details for each post:
- Publish date/time
- Post format (text, single image, multi-image, video)
- Topic/pillar (education, community, promo, behind-the-scenes)
- Copy + link + CTA
- Creative status (drafted / designed / approved)
- Owner + notes + performance fields (optional)
The template is made for Facebook Pages and small teams who need to answer one question each week: “What are we posting, and is it ready?”
If you want to schedule and auto-publish to a Facebook Page, PostQuickAI schedules text, photo, multi-image and video posts there. PostQuickAI is a paid product. Your first plan starts with a 7-day free trial (card required), then plans start at $15/month.
How to Use PostQuickAI’s Facebook Post Planner Calendar (Free Template)
Step 1: Copy the template into your planning tool
Open the template page and copy the table into:
- Google Sheets (fastest for collaboration)
- Excel
- Notion (as a database/table)
Tip: If you’re using Google Sheets, freeze the header row and enable filters so you can sort by status, owner, or post type.
Step 2: Fill in your “Planning Defaults”
Before you add posts, decide these 3 defaults (you can note them at the top of your sheet):
1) Posting cadence: e.g., 3×/week, weekdays only, or daily
2) Content mix: e.g., 70% value/community, 30% promotional
3) Core pillars: e.g., Tips, Proof, Product, People, Promo
Tip: Pick a schedule you can keep. A smaller plan you stick to does more than an ambitious one you drop in week two.
Step 3: Add key dates and campaign moments first
Populate the calendar with anchors such as:
- Launch dates
- Events/webinars
- Seasonal promos
- Holidays (only if relevant to your brand)
- Internal deadlines (creative approvals, asset handoffs)
Then build supporting posts around those anchors.
Tip: Add teaser posts 3 to 7 days before your main campaign post so your audience knows it’s coming.
Step 4: Plan each post using the “Post Checklist” columns
For each planned post, fill the essentials:
- Post type: text / image / carousel (multi-image) / video
- Goal: awareness / engagement / leads / sales
- Hook: the first line, which decides whether people read on
- CTA: comment / click / share / save / DM
- Creative link: file URL (Drive/Dropbox/Figma) so the team always has the latest version
- Status: idea, drafted, designed, approved, scheduled, posted
Tip: If a post isn’t ready, set its status to Blocked and add the reason (waiting on creative, legal, client approval, etc.).
Step 5 (Optional): Schedule posts in PostQuickAI
When your posts are ready, schedule them to Facebook Pages in PostQuickAI. Our servers publish them, so you don’t need to keep your browser open.
Keep the template as your master plan, and use PostQuickAI to publish from it.
Note: PostQuickAI can also schedule Facebook Stories, with an image or video.
The Facebook Post Planner Calendar Template (Copy/Paste)
A) Post Planner Table (recommended)
Copy this header row into a spreadsheet:
| Date | Time | Post Type | Pillar | Goal | Status | Creative Link |
|---|---|---|---|---|---|---|
| YYYY-MM-DD | HH:MM | Single Image | Tips | Engagement | Idea | Link |